Smarter Heat: How Digital Temperature Tech Is Reshaping the Modern Glassblowing Studio
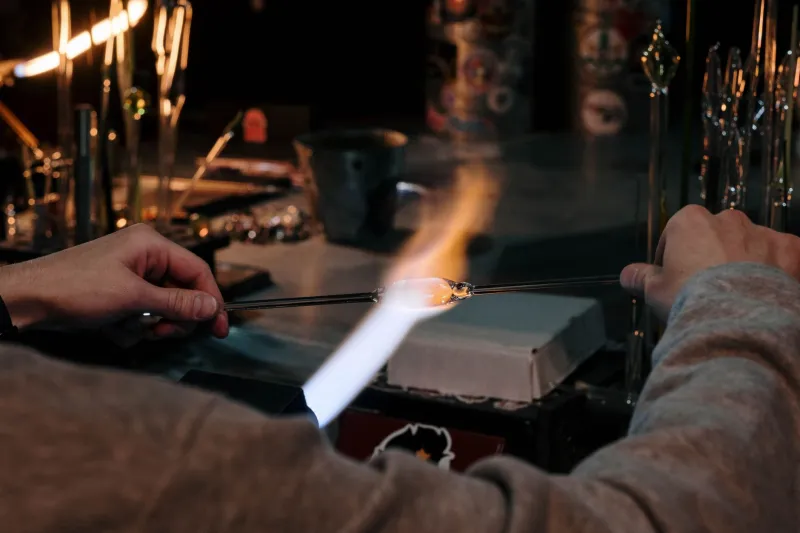
For most of glassblowing's history, temperature was something you felt in your bones. You learned the color of the glass, the way it moved, the subtle drag on your blowpipe. That knowledge lived in your hands and your gut — not on a screen. But walk into a forward-thinking studio in 2024, and you might do a double-take. There are digital readouts on the reheating chambers, programmable controllers on the annealing ovens, and in some shops, real-time dashboards pulling data from multiple zones at once.
Is this the future of glassblowing, or just expensive gadgetry? We dug in to find out.
What's Actually Changed — and Why Now
The push toward precision temperature control in glassblowing studios isn't entirely new, but the pace has picked up sharply in the last couple of years. A few converging factors are driving it.
First, the equipment itself has gotten significantly cheaper and more accessible. PID controllers — the devices that regulate temperature by comparing a setpoint to a sensor reading and making continuous adjustments — used to be the domain of industrial kilns and scientific labs. Now you can pick up a solid unit for under $100, and hobbyist-friendly versions are all over the market. Second, the broader maker culture around ceramics, metalworking, and fabrication has normalized the idea of instrumented studios. Glassblowers, especially younger ones coming up through college programs, are arriving with higher expectations for data and documentation.
Third — and maybe most importantly — energy costs have pushed studios to think harder about efficiency. Running a glory hole hot and loose wastes gas. Knowing exactly what temperature you're working at, and dialing it in precisely, can shave real money off monthly utility bills.
The Glory Hole Gets Smarter
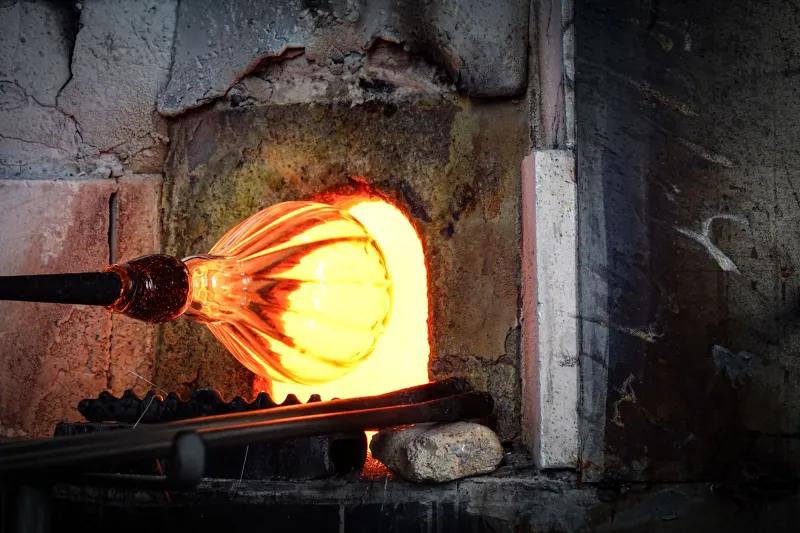
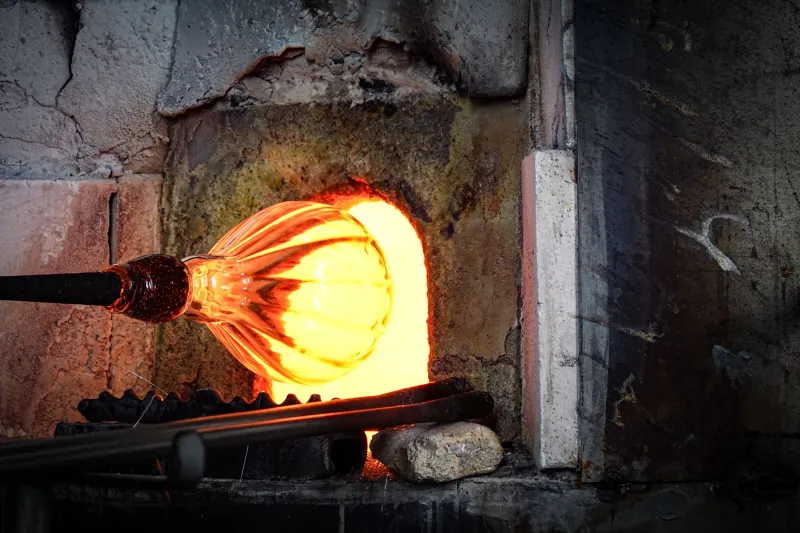
The reheating chamber — the glory hole itself — has historically been the wild card in any studio setup. Unlike a furnace, which holds a relatively stable working temperature, the glory hole cycles constantly. You're opening and closing the door, inserting and withdrawing work, and the temperature swings accordingly. Experienced blowers develop an intuitive sense for when to pull the piece, but that intuition takes years to build and doesn't transfer easily to students.
Newer glory hole designs are incorporating thermocouple sensors positioned near the working zone, feeding live readings to a display the blower can glance at without breaking their rhythm. Some setups pair this with variable burner controls, so you can dial back the BTUs when you're doing fine detail work that doesn't need a screaming-hot chamber.
Brad Kellner, who runs a mid-sized production studio outside of Asheville, North Carolina, retrofitted his primary glory hole with a digital monitoring setup about eighteen months ago. "I wasn't expecting it to change my workflow that much," he says. "But I started noticing I was getting more consistent results on color pieces. The heat was just more predictable. And when I'm teaching, I can actually point at a number and say, 'this is where we want to be for this technique.'" That kind of teachable moment is hard to put a dollar value on, but Kellner says his student retention has improved noticeably.
Studio Layout Implications
Here's where it gets interesting from a design standpoint: when you commit to instrumented equipment, it starts reshaping how you think about the whole studio floor plan.
Traditional hot shop layouts were organized around the physical logic of glassblowing — furnace, glory hole, and bench in close proximity, with the annealer somewhere accessible but out of the main traffic path. That arrangement still makes sense, but digital setups introduce new considerations. Where do you run the sensor cables? How do you protect electronics from heat and vibration? Do you want a central monitoring station, or individual readouts at each piece of equipment?
Some studios are going further, building what amounts to a small data infrastructure into their space. Wireless temperature sensors, tablet-based dashboards, even simple logging systems that record temperature histories so you can review what happened during a session. This sounds elaborate, but the components are mostly off-the-shelf and the setup costs are surprisingly modest — a few hundred dollars for a basic multi-zone system.
The layout payoff is real. When you can monitor your annealer remotely while you're still working at the bench, you're less likely to interrupt your flow to check on a piece. When your glory hole holds temperature more consistently, you can position your bench slightly farther away without worrying about losing critical heat during the walk. Small efficiencies, but they compound over a long studio day.
What It Costs — and Whether It's Worth It
Let's be straight: full instrumentation of an existing studio isn't cheap if you go all-in. A professionally installed, fully integrated temperature management system for a three-piece setup (furnace, glory hole, annealer) can run anywhere from $2,000 to $8,000 depending on the equipment and labor. For a solo artist studio, that's a significant chunk of change.
But most studios don't need to go all-in at once. A phased approach makes a lot more sense for small to mid-sized operations. Start with the annealer — it's the most forgiving environment for electronics, and proper annealing control has the most direct impact on piece survival rates. A basic PID retrofit on an existing annealer can run as little as $150 to $300 in parts if you're comfortable with a little DIY wiring. From there, add glory hole monitoring, then eventually work toward furnace instrumentation if the budget allows.
The ROI conversation is easier than you might think once you factor in reduced cullet from thermal shock failures, lower gas consumption, and the value of being able to train students more effectively. Kellner estimates he's recouped his retrofit investment inside of a year, mostly through gas savings and fewer broken pieces during cooling.
Retrofitting Traditional Setups: A Practical Starting Point
If you're running older equipment and want to dip your toes in without a full overhaul, here's a reasonable entry point:
Start with a Type K thermocouple and a basic PID controller on your annealer. This is the lowest-risk, highest-reward first step. You'll immediately have accurate temperature data and programmable ramp-down cycles, which is a genuine upgrade over manual dial controls.
Add a secondary thermocouple to your glory hole door area — not to control the burner, just to monitor. Even passive monitoring gives you useful information and helps you spot inconsistencies in your reheating habits.
Log your sessions, even informally. A simple spreadsheet noting temperatures, session length, and piece outcomes will start revealing patterns you'd never notice otherwise. This is low-tech data science, and it works.
The craft hasn't changed. Glass still moves the same way it always has, and the skill in your hands still matters more than any readout on a wall. But having better information about your thermal environment isn't a crutch — it's just good practice. The blowers who figure that out early are going to have a real edge as studios get more competitive and energy costs keep climbing.
The glory hole is getting smarter. Might as well get smarter with it.